

Very fittingly my first card I am making for my niece's first birthday. Of course this card could be for and birthday regardless of gender using whatever colors you prefer. Or even change the stencil and make it for another occasion all together. That's the great thing about cards you see something inspiring and start out to make something like it and (at least I) usually end up making something completely different with maybe one element of the original card I started out being inspired by. But I digress.
So I began, as I usually do with an A2 card I purchased from Joann's fabrics or Michael's craft stores I buy so many and go back and forth between stores. Then I used an Echo Park Paper Co. 6X6 balloon stencil I purchased at my favorite local Scrapbooking store Scrappin in the City.

And Tim Holtz mini distress ink dusty concord
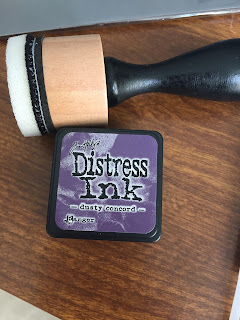
as well as a ranger mini ink blending tool
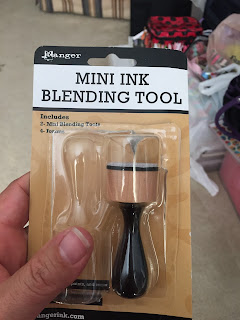
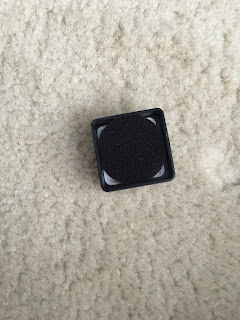
The reason I selected this blending tool (and not the rectangular one) is because the blending foam pads fit perfectly into the back of my ink containers as seen below.
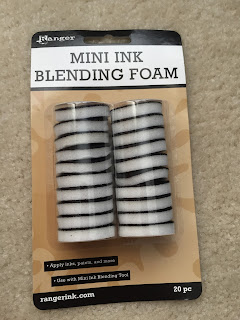

Also while we are on the topic of storage if you decide to delve into the world of distress mini inks, and believe me it is a slippery slope, you should invest in the storage tins then you have all your things (inks and blending foam) all in one place at your fingertips and safe and sound.

Like I said a slippery slope! Now back to the card.
I carefully placed the stencil over the bottom half of the A2 card and dabbed the ink onto the card.

When I was done I got this result:

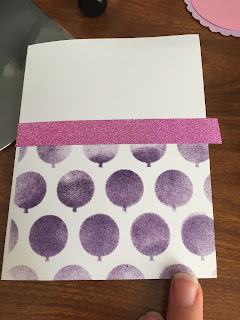
This worked for me because I planned to put washi tape across the middle of the card. But if that is not your intention or you just want to you can cut some white card stock to size to work with and attach to the card when you are done. That way you will not get the mess on the top like I did.
Next I attached my tape. It is a sparkly washi tape that I found in the dollar bin at target but any sparkly tape will do.
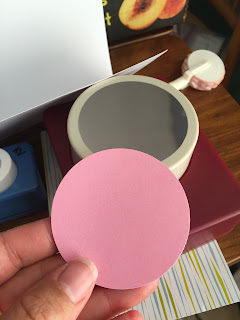
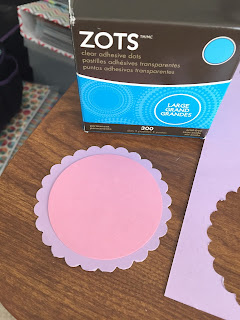
Then I used a scalloped circle punch and punched a lavender colored sheet of card stock

After that I used a slightly smaller circle punch and used pink paper this time.
I attached them using zots
After that I placed it on top of the card using miracle tape (my favorite adhesive).
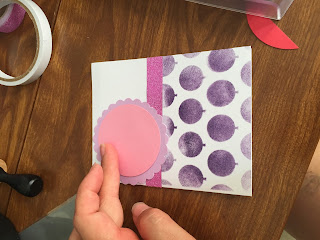
Next I will write on the "flower" if you will. Or make my daughter do it because my handwriting is terrible. Then I will have a cute first birthday card for my niece!
Supply list:
- A2 card & envelope
- Echo Park Paper Co. 6X6 balloon stencil
- Tim Holtz mini distress ink: dusty concord
- Ranger mini ink blending tool
- Glitter washi tape
- Large scalloped circle punch
- Slightly smaller circle punch
- Miracle tape
- Cardstock
- Zots
If you decide to invest in the Tom holtz mini distress inks you will want to buy the storage tins too. I highly recommend these inks and have been very happy with them.
Hope you enjoyed this tutorial! New card coming soon! Happy Crafting!
I am not an affiliate of my local scrapbook store but I love it! It gives me my sanity and I consider it my second home! So I have to put in a plug for my favorite scrapbook store! As we all know many of our local scrapbook stores are an endangered species. So if you happen to be in town or want to order online please do! There are so many unique products available. I would truly appreciate you supporting my cropping haven!